- Home
- Activities
- From Kid to Mini Engineer: Making Mini Zip Lines
From Kid to Mini Engineer: Making Mini Zip Lines

Zip line−two words that bring the thought of summer and fun into the minds of children and adults. The thought of carelessly flying down a hill while the wind pushes against your face and twirls your hair is a thought that would make anyone want to go back to summer camp, strap into a harness, and zip down from the top of a mountain, tree, or wooden tower. Zip lines are a summer favorite among children, so why not teach them how zip lines work while they create and play with their own mini one?
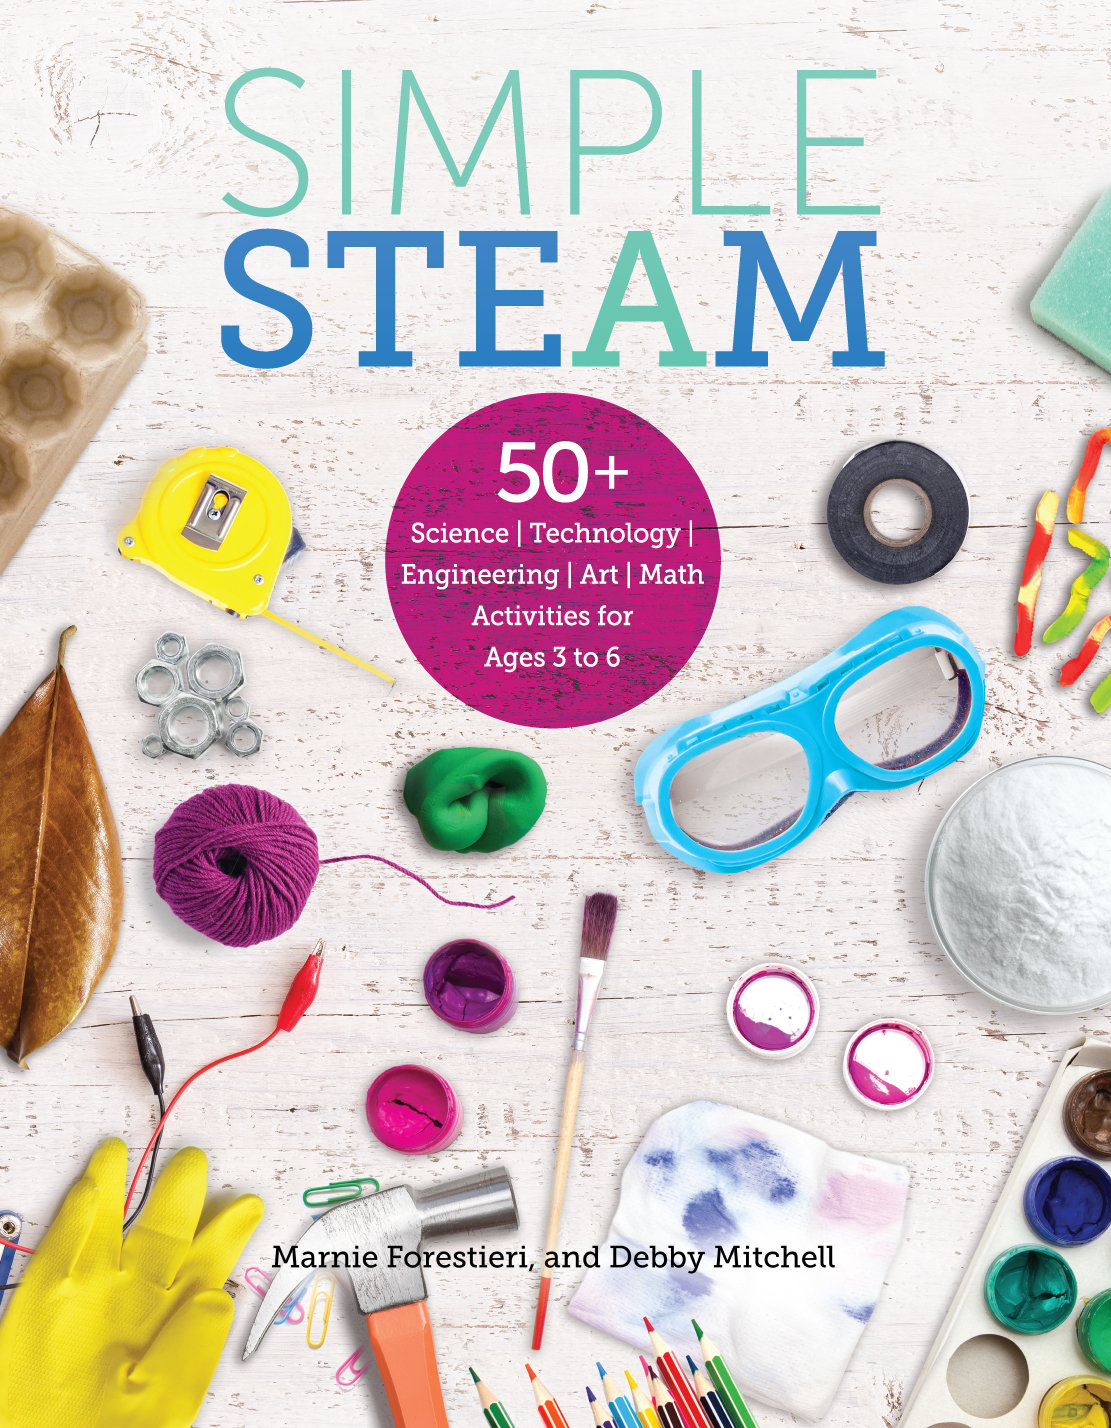
This activity allows children to act as engineers by challenging their creativity and critical-thinking skills. More activities that give children the chance to step into roles involving science, technology, engineering, art, and mathematics, can be found in Marnie Forestieri and Debby Mitchell’s book Simple STEAM.
Build a Zip Line
Children will build a zip line from a high level to a low level to gain an understanding of inclined planes as well as the concepts of friction and gravity.
Talk Like Engineers!
- Construct−build or erect something (typically a building, road, or machine)
- Engineer−a person who designs or builds a machine or structure
- Friction−the resistance of motion when one object rubs against the other; in this case, the resistance of the carabiner or the bucket handle rubbing against the rope
- Gravity−a force that pulls things toward Earth; in this case, it causes the car to go down the ramp
- Inclined plane−a sloping ramp that makes it easier to move things up or down; in this case, an angled zip line
- Load−the weight of an object
What You Need
- String/rope
- Scissors
- A high and low area to attach string/rope
- Carabiner
- Empty paint bucket
- Weighted items (rock, toy)
- STEAM journal
How to Do It
- Show your child a picture of a zip line if she has never seen one. Discuss how gravity pulls anything on a zip line from a high level to a low level.
- Collaborate with your child to build a zip line with a bucket that can transport materials from a high point to a low point. Tie your rope to an object at a high level. Tie a big knot or tie a small tree branch on the rope at a high level to “hold” your container or keep it from sliding down the rope.
- Place the carabiner or bucket handle through the rope.
- Tie off your rope at an angle and at a low level.
- Try putting a rock into the bucket and releasing it down the zip line.
- Encourage your child’s curiosity: Does the heavier rock move faster or slower than your regular rock?
- Encourage your child’s critical-thinking skills: What can you tell me about gravity and your zip line?
Predict and Hypothesize
- Problem solve with your child: I wonder what would happen if we used other items in the bucket to go down the zip line.
- Predict and hypothesize the answer to the question. Test the hypothesis and record what you discover.
Did You Know?
- Though no one is sure of the exact date when the first zip line was created, they were quite popular in the 1800s.
- Zip lines were first built as a means to transport people and goods over harsh terrain. People in hard-to-reach areas like the Himalayan mountains may have used zip lines for more than a hundred years.
Add More STEAM activities
- Science: Discuss and experiment with how different weighted objects react to gravity.
- Technology: Take pictures or videos of your zip line.
- Arts: Draw pictures and different designs for your zip line.
- Math: Time how long it takes different objects to get to the ground (different weighted objects or a different angle).
Instructions
Locate the text for the story of "The Little Red Hen" in a picture book
or anthology.
* Create an outline of the story, leaving the animal names blank.
* Place the animal puppets in a sack or pillowcase.
What to Do
1. Invite the children to sit in a circle. Begin by reading the story of "The Little
Red Hen."
2. Prompt the children to reach into the sack and pull out a puppet without
peeking.
3. Name your own puppet as the lead character and narrate the tale (for
example, The Little Brown Bunny).
4. Direct the children to add their own parts, speaking in turn from your right.
Examples: "Not I, said the squirrel," "Not I! said the cow," "Not I, said the
bear," and so on.
5. Complete the tale with applause.
Assessment
Consider the following:
* List the children's names in a column of a writing tablet. Ask another adult to
observe the activity and mark a check by the corresponding name each time
a child responds with a correct line at the appropriate time.
* Are the children able to retell the story?