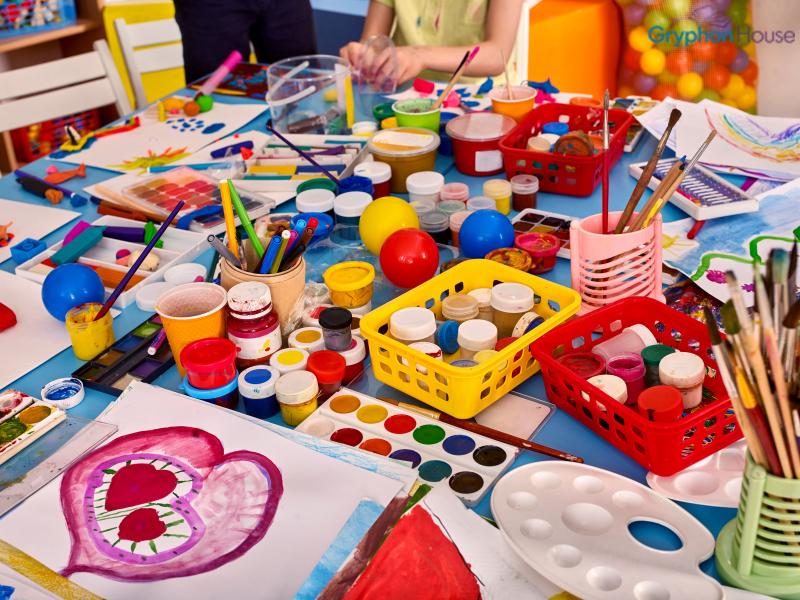
Incorporating art in the classroom setting can often be a challenge. Often times it is used as a filler or it does not add value to the lesson it is paired with; however, that does not have to be the case. Both visual and performing arts are very powerful disciplines that can be paired with early science, technology, engineering, and mathematics experiences. Angela Eckhoff, PhD explains how to incorporate art into the classroom to maximize students learning in her book Creative Investigations in Early Art.
Art is a very important discipline that can have tremendous benefits for children. Visual and performing arts allow children to experience and express wonder, imagination, communication, and thinking all in a fun way! Eckhoff’s book explains how it is imperative that early childhood educators create a classroom environment that not only incorporates arts, but where the arts are a consistent and valued part of the classroom experience. The crucial element of incorporating the arts in the classroom is to allow the arts to be embedded in all aspects of both the physical space, but also the curriculum. The incorporation of the arts within the curriculum, specifically STEM experiences, promotes children’s abilities to communicate what they have learned in a way that is more enjoyable than fact-based regurgitation.
With these activities, you can successfully incorporate the arts into your classroom!
STEM Chants and Fingerplays
Children will participate in group STEM songs and fingerplays as a way to extend their hands-on learning experiences.
Materials:
None are needed, but you may wish to create flannel-board cutouts or add musical instruments.
Overview:
Invite the whole class to join you for group time. Ask questions such as “Can you describe different types of movement (fast/slow, straight/curved, steady/jerky)?” to prompt the children to share their understanding of movement. Choose one chant from the following and work alongside the students to create movements to match the words or intent of the song.
“Flowers Tall and Small” (Life Science) – original author unknown
Flowers tall, (hold up the pointer finger, middle, and ring fingers)
Flowers small, (hold up the little finger and thumb)
Count them one by one, (use other hand to count each finger)
Blowing with the breezes (wave fingers slowly)
In the springtime sun! (Hold all fingers straight and tall)
1, 2, 3, 4, 5 (touch each finger as you count)
Color Suncatchers
Children will create suncatchers to explore color and the concepts of opacity and translucency.
Materials:
Liquid white glue (you will need about 2 ounces of glue per child)
Liquid watercolors or liquid food coloring
Toothpicks
A variety of disposable lids (plastic lids from containers of yogurt, butter, sour cream, and so on are easier to remove the dried suncatchers from)
String or ribbon for hanging suncatchers, cut into 4” pieces (1 per child)
Hole punch
Overview:
Objects that block all light are opaque—no one can see through these objects. Objects that let some light through are translucent, and these objects act as filters and only allow certain colors of light through. This lesson can be done with children working in small groups. As there are multiple steps, it will work best if you work alongside the children and help support them through each step.
Activity Steps:
1. Ask the children if they’ve ever seen stained glass. Can they describe what they’ve seen? You can also show some images of stained glass and invite the children to think about how the light would filter through the colors on the window. Remind them of the terms opaque and translucent and invite them to create their own suncatchers that will hang in a window to block light or let light through.
2. Invite each child to pour enough glue into one of the disposable lids to cover the entire inner surface.
3. Encourage the children to choose which colors they would like to use on their suncatchers. Have the children squeeze one or two drops of each color onto the glue. The children can then use toothpicks to swirl colors together. Remind the children that, as in painting with watercolors, the colors will turn dark if the children mix too much, so they will want to stop swirling before that happens.
4. Let the suncatchers dry. They will take about two to three days to dry completely. Invite the children to observe the suncatchers during the drying phase as the colors settle and expand into the glue. When the edges of the suncatchers are easy to peel, remove them carefully from the lids and punch a small hole through the top of each suncatcher for the children to add their string or ribbon.
5. Hang the suncatchers in an area with lots of natural light.

