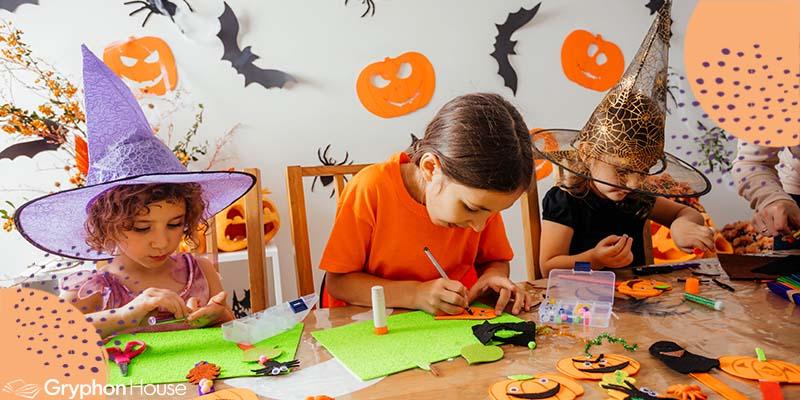
Halloween is almost here! Seasonal art projects for kids help them explore their creativity and imagination while they enjoy the festivities of the season. Easy Halloween crafts are always a classroom crowd pleaser in October, and The GIANT Encyclopedia of Monthly Activities for Children 3 to 6 is full of fun Halloween paper crafts for kids as well as other Halloween activities that will make your students go boo! Get into the spooky spirit with these five fun Halloween crafts for kids!
Halloween is almost here! Seasonal art projects for kids help them explore their creativity and imagination while they enjoy the festivities of the season. Easy Halloween crafts are always a classroom crowd pleaser in October, and The GIANT Encyclopedia of Monthly Activities for Children 3 to 6 is full of fun Halloween paper crafts for kids as well as other Halloween activities that will make your students go boo! Get into the spooky spirit with these five fun Halloween crafts for kids!
Materials:
What to do:
- Ask the children to choose a few sheets of construction paper in fall colors, or use white paper. Encourage them to color their paper with crayons, layering different fall colors over each other for a rich, multi-layered effect. The children can use several colors per sheet, and color both sides if desired.
- Help them cut most of their papers into long, narrow strips, making sure they leave some whole sheets for stems, leaves, and vines.
- Cut paper towel tubes into thirds. Give one-third of a tube to each child.
- Help them cover their tubes with construction or colored paper. Glue the paper in place. This will be the central core of each pumpkin.
- Show the children how to glue five or six paper strips into one end of the central core. Let each strip dry slightly before attaching more strips. Continue this process until the entire top of the core is filled evenly with paper strips. Let dry.
- Help the children gently curl the end of each strip around and down so it can be glued to the bottom of the central core. Each strip should bow out. This creates the round pumpkin. Help the children glue each strip in place and dry slightly. Complete this step with all of the strips. Help the children add more strips to fill any spaces. Dry thoroughly.
- Demonstrate how to cut green construction paper, crayon-colored paper, or a paper bag into the size of a large index card. Help them roll the paper into a cylinder. Insert this cylinder into the top of the central core for a stem. Help the children glue in its place.
- Trace paper leaves and vines on a sheet that the children colored. Help them cut out the leaves and vines and glue them to the pumpkin anywhere they desire.
Materials:
What to do:
- Put small pumpkins, paint, paintbrushes, and newsprint in the Art Station. Have small bins of water and towels available.
- Encourage the children to cover their pumpkins with paint and make a print by wrapping newsprint around their pumpkins.
- Help them carefully peel the newsprint off the pumpkins.
- Have the children dunk their pumpkins in water and rub the paint off.
- Dry the pumpkin for the next person to use.
- If desired, let each child paint a pumpkin and bring it home.
Materials:
What to do:
- Before doing this activity, cut out pumpkin shapes from paper and eyes, ears, mouths, and noses from paper or old magazines (older children can help with this step). For added fun, use facial features from animals too.
- Encourage children to mix up the eyes and make silly faces on their pumpkin shapes.
Materials:
What to do:
- Provide crepe paper, large paper grocery bags, trash bags, tape, crayons, markers, and a variety of craft materials.
- Encourage the children to design their own capes and costumes.
*Safety Note: Closely supervise during this activity so children do not put plastic bags on their heads or around their necks.
Materials:
- Hot glue gun (adult only)
- Card stock or file folders
- Paper
- Orange and black crayons
- Black stamp pad
What to do:
- Ahead of time, use a hot glue gun to form different shaped spider webs on card stock or file folders and allow them to harden and dry.
- Let each child pick a web. Have them place a blank sheet of white or manila paper on top of the glue and use black and orange crayons to rub across the paper until the web appears on their paper.
- After they are satisfied with their webs, have the children stamp their thumbs on the web using black stamp pad.
- Encourage the children to draw legs coming from the thumb stamp, forming a spider inside a spooky web.
- As a variation, have the children use regular glue to form their own webs. Allow a day for the glue to dry, and then proceed as above. This takes a little more time, but the children will get their own “one-of-a-kind” webs.


